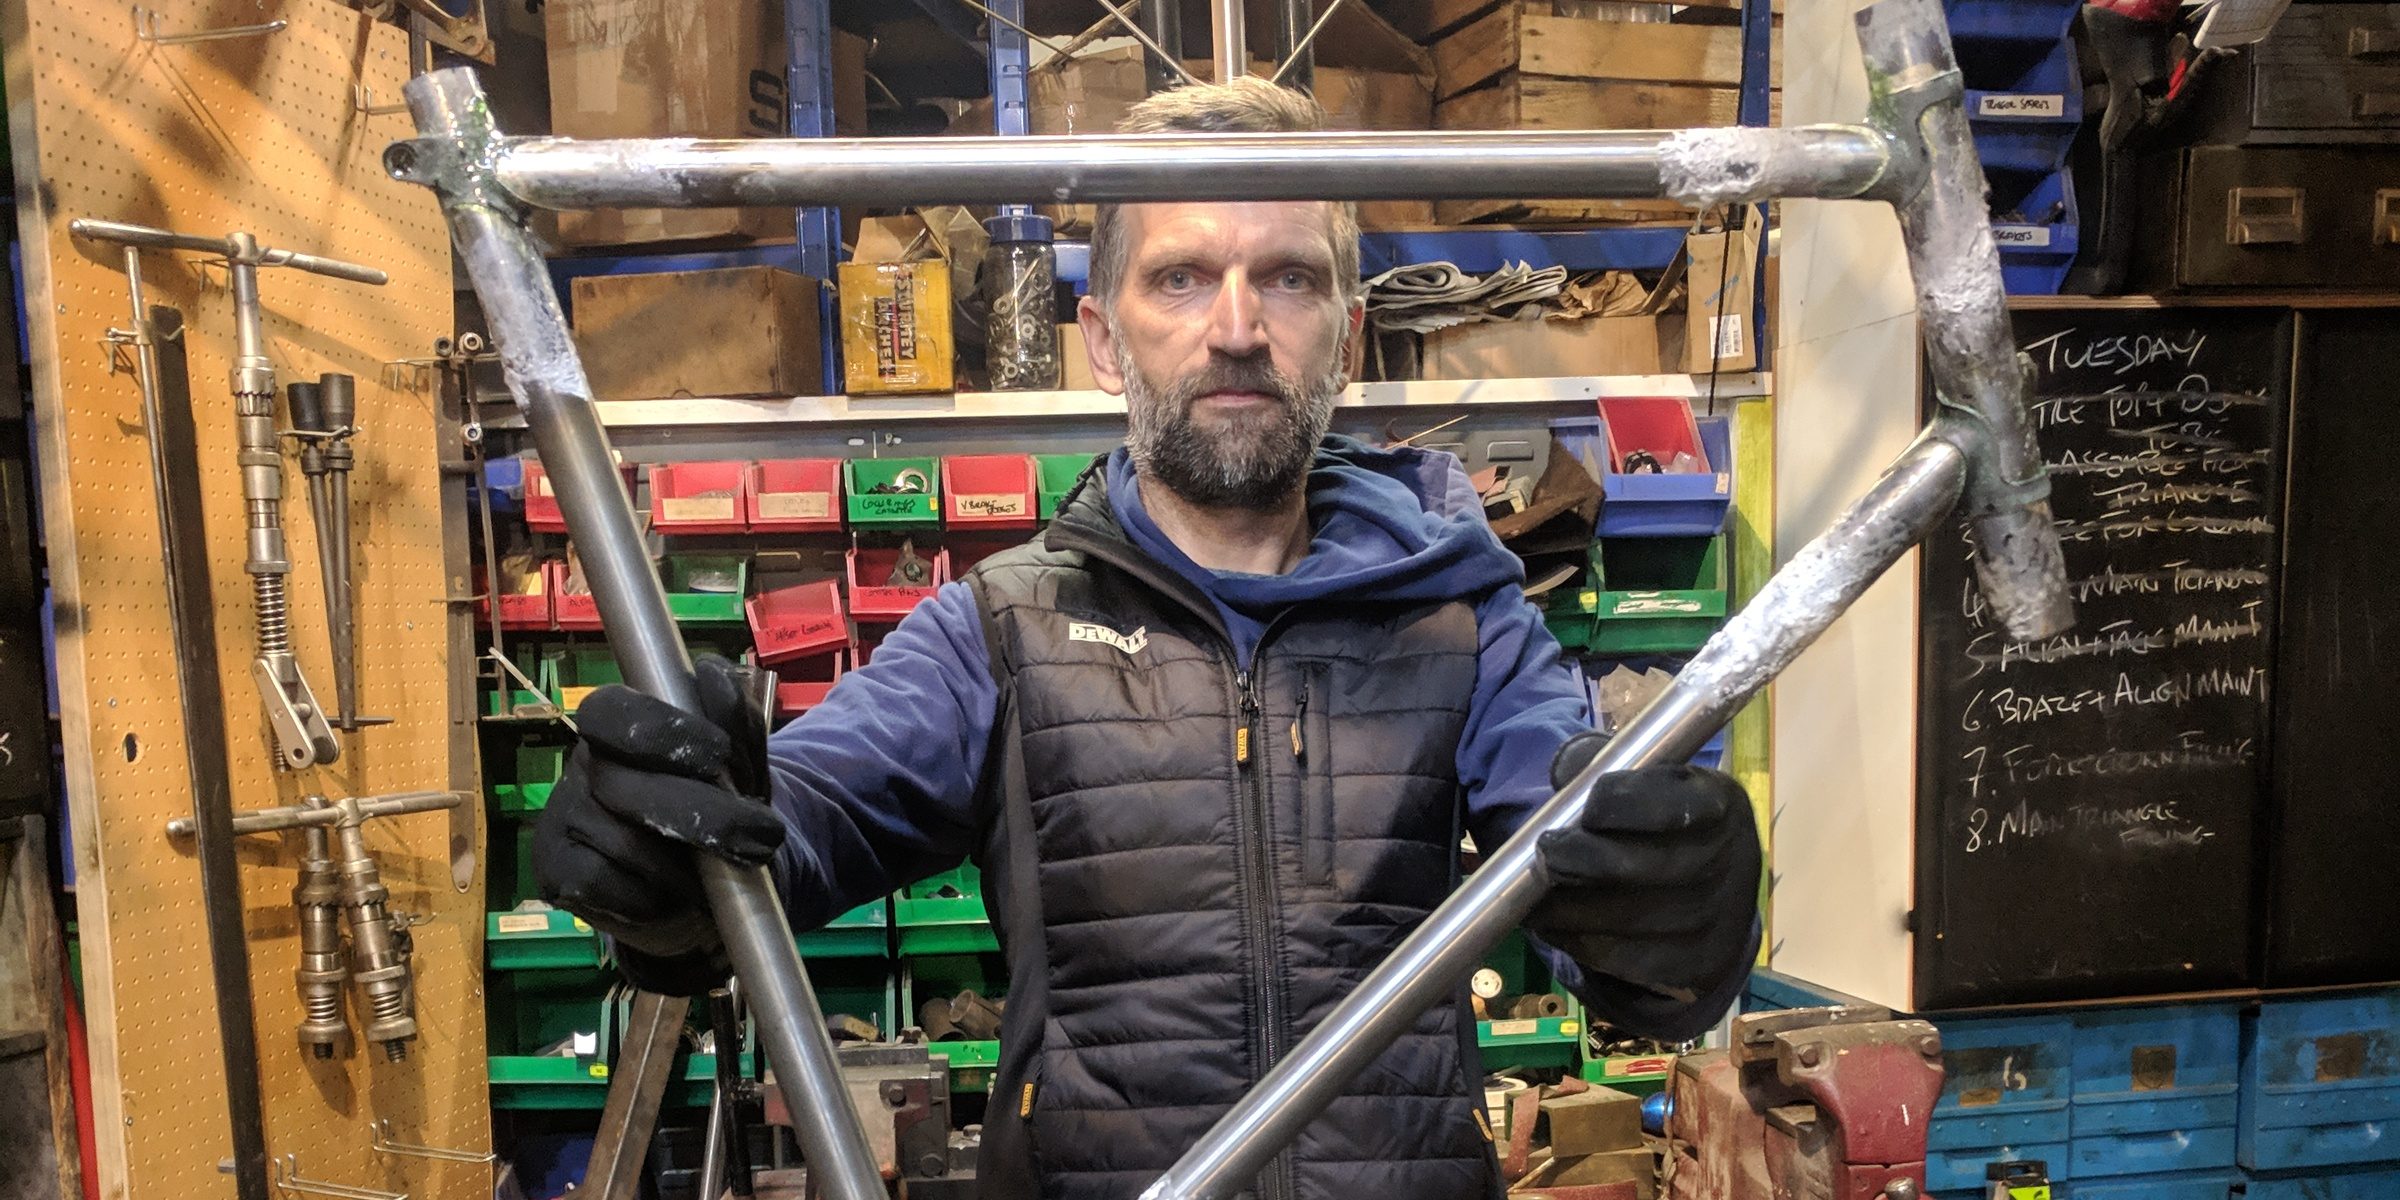
Welcome to the second part of our series on our 5 day frame building course. To read Day 1 follow this link.
Day 2 is exciting because what starts off as a collection of tubes, lugs and braze-ons suddenly starts to look like a frame! Cutting, mitreing and fitting your tubes on the faceplate is where the day starts.
With silver brazing, everything has to be as accurate as possible, we can’t afford any gaps between the tubes, so the mitres have to be spot on. You may think that the lug will hide an untidy mitre but when silver brazing you need tight clearances for strength. The same goes for how the tubes fit into the sockets of the lugs, the clearance must be just right. So Tuesday morning will be spent making sure everything fits perfect before we can flux up the joints and tack the frame together.
Having the patience to get the preparation right is a sure sign of a good frame builder. By doing this you will understand how corners are cut on many frames. I was taught that if a frame builder spends the time making sure all the visible workmanship is excellent then you can be sure they won’t have cut corners in areas which are not visible.
Distortion during brazing is kept to a minimum by silver brazing, which is lower in temperature than traditional brass brazing. This is especially helpful for a beginner as you will take longer to do each joint. With brass brazing taking longer can lead to a lot of distortion. Bad distortion can easily destroy all your hard work.
To eliminate in built stresses in the frame, the frame is tacked in the fixture but brazed in the vice. This allows the tubes to expand and contract rather being forced to stay in position with a jig.
Doing things right may not be the quickest and easiest method but end result is so much better when done correctly and you will rightly feel a sense of achievement at the end of day 2.
Check back soon for an explanation of Day 3 Where we will be fitting the rear triangle.


Leave a Reply